


If you have snaps on clothes or other fabric items that aren’t functioning correctly or are absent, there’s an easy and budget-friendly solution. This was reinforced for me recently.
I received a new work jacket as a present recently, and overall it’s great except for the snaps. These snaps were too tiny and fragile to keep closed, popping open whenever I bumped into anything or grabbed an object (despite the fact that the jacket offers ample space). However, swapping out these snaps with bigger ones—or substituting faulty or missing snaps—is a quick and straightforward solution to fix this issue. The whole snapping process involves just three stages, which anybody can easily manage.
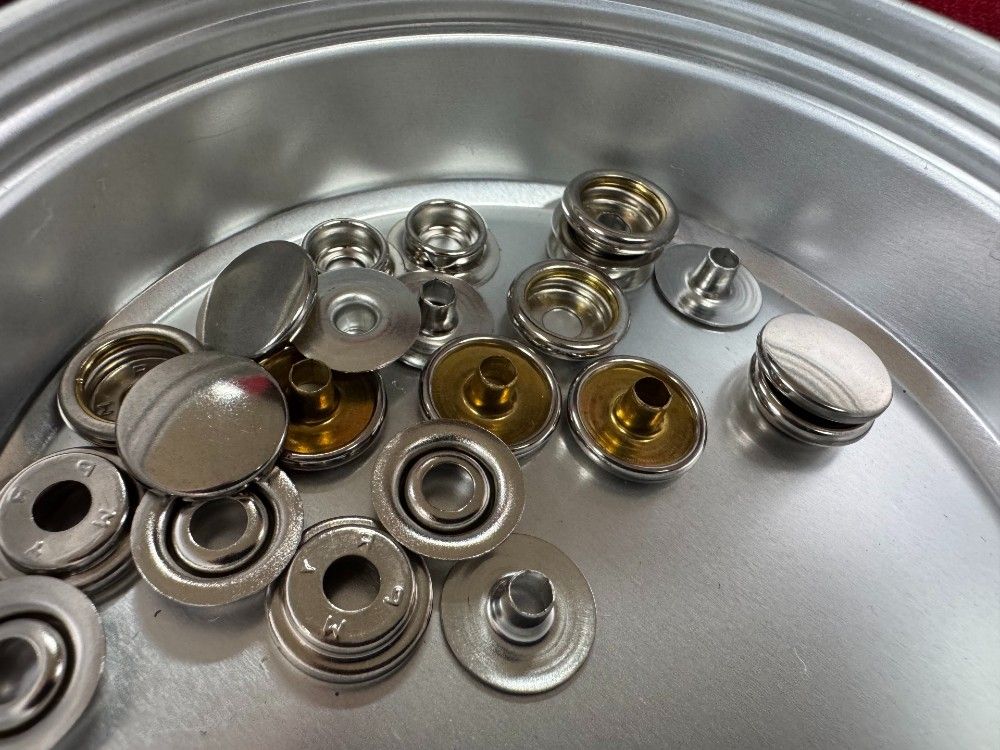
Step 1: Purchase new snap fasteners
Seamstress shops and numerous online vendors provide snaps, and for my latest enhancement, I opted for a company named Wawak.
www.wawak.ca
I had the option to purchase generic snaps from Amazon, but Wawak, which has been operating since 1907, exclusively offers quality products. Why save a few bucks on subpar snaps when you can get something better? I opted for the Dritz brand of snaps through their website at Wawak. This brand originates from a German sewing supplies company with roots dating back to the 1500s, so they likely excel at making high-quality snaps.
15 millimeters or 5/8 inches is a typical size for the robust snaps I required; however, there are smaller options suitable for more delicate uses. Additionally, you have various colors and designs to pick from, although all press-in snaps are installed using the same method.
Step 2: Delete previous snaps
This might appear difficult at first, but it’s surprisingly simple. The majority of snaps are secured through crimping (although some require sewing). To start, take a pair of pliers and position them so their jaws align crosswise relative to the main part of your tools; use these to trim away the smaller protrusion from inside the snap. Following that, slide the jaw area beneath the rim of the snap, positioning it where the material meets the snap itself. Apply gentle pressure next—make sure not to harm the textile surface. Usually, the snap will come loose without much effort, which can be surprising. Should this initial attempt fail to remove the snap completely, turn it slightly and apply another light press.
Step 3: Install the updated snap packages
Each snap consists of two components that fit and lock together, with each component having two sections. To handle this efficiently, you’ll want a versatile snap plier tool. I purchased one for around $20, produced by Dritz, which performs various tasks related to snaps.
Initially, the tool includes a hole-punching attachment for scenarios where you’re setting snaps into newly cut fabric, or when the present snaps fail to go through an existing hole in the material, like with my new jacket.
Once the holes have been made, replace the punching attachment on the pliers with the crimping attachment. Position both components of one side of the snap correctly. Since they will be loose initially, make sure to keep them aligned as you prepare to use the snap tool. Give it a single solid press using the snap pliers, securing the snap firmly in place. Just remember an important detail about this process.
When you’re attaching the inner portion of the snap—the side that will show from within your clothing—you should use one specific crimping tool. For the external section of the snap, however, a different attachment is required. Although both tools firmly secure the snap permanently with a crimp, each employs distinct fittings since the two parts of an individual snap set usually require varying levels of support during the crimping process.
Whenever a fix turns out successfully in my life, I frequently find myself grateful for the initial challenge because it feels incredibly rewarding to set things right. My “enhanced” work jacket serves as merely one example among many such instances.
Steve Maxwell acquires a new work jacket every three decades, regardless of whether he requires one. Check out his site at baileylineroad.com for an extensive collection of practical do-it-yourself guides and video content tailored specifically for Canadian audiences.


